INTRODUCTION
This guide is by The303 with help from seedee
Relighting a map
Requirements: Map compile tools such as VHLT or custom compilers such as SDHLT or game specific compilers like Sven-Coop SDK.
(if you have JACK VHLT v34 comes with the install)
Optional requirements for other methods:
BSPGuy
NEW BSPGuy (optional fork; has lightmap paint feature)
While ripent can modify the lighting of a map, you won't actually be able to see these changes reflected in-game due to the nature of how maps are compiled. The lightmap has to be first built, and then the lighting is baked with data from the light entities. Therefore, you will need to run the bake process again with another hlrad compile on the map.
Even fairly optimized maps can take a long time to compile VIS, therefore it is useful to compile only CSG and RAD if you only want to make adjustments to lighting or other entities.
Optional reccomended reading for more in-depth info on lighting commands and entities:
The Complete Guide To Lighting
the Advanced Compilation (from Sven Manor)
Warning: If you are relighting an older BSP that was originally compiled with texlights and not the newer "infotexlights" then you WILL need a working lights.rad file in the same folder as your RAD compiler. For common Half-Life maps, "HL-lights" by Hezus radfile can be found here.
To use a custom named radfile use -lights yourradfile (Note: By default RAD will use "lights.rad" if it exists in the same folder. Rename or move this file to avoid conflicts.)
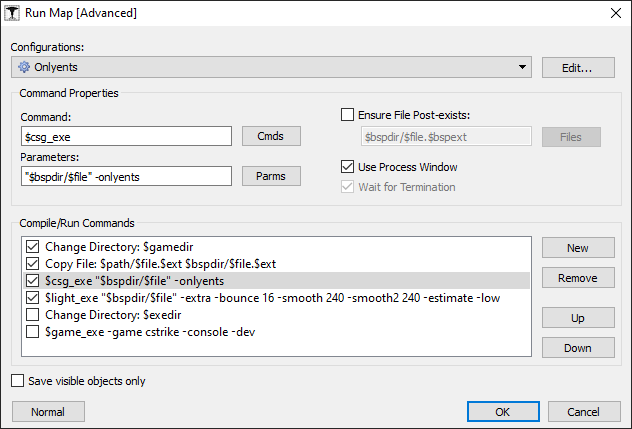
First method: -onlyents
This is the faster method. If you compile your map with the -onlyents parameter in CSG, it will overwrite the entity data lump in the map without affecting the geometry, lightmaps, cliphulls or visleaves. Afterwards, you can compile with RAD normally.
If not doing this from JACK/Hammer and have just a BSP file you can just run RAD from CMDline like so: path of rad compiler "name of bsp path" compile paramaters
example:
C:\Program Files\J.A.C.K\halflife>hlrad_x64 "C:\Program Files (x86)\Steam\steamapps\common\Half-Life\valve\maps\testmap.bsp" -extra -bounce 16 -limiter 255
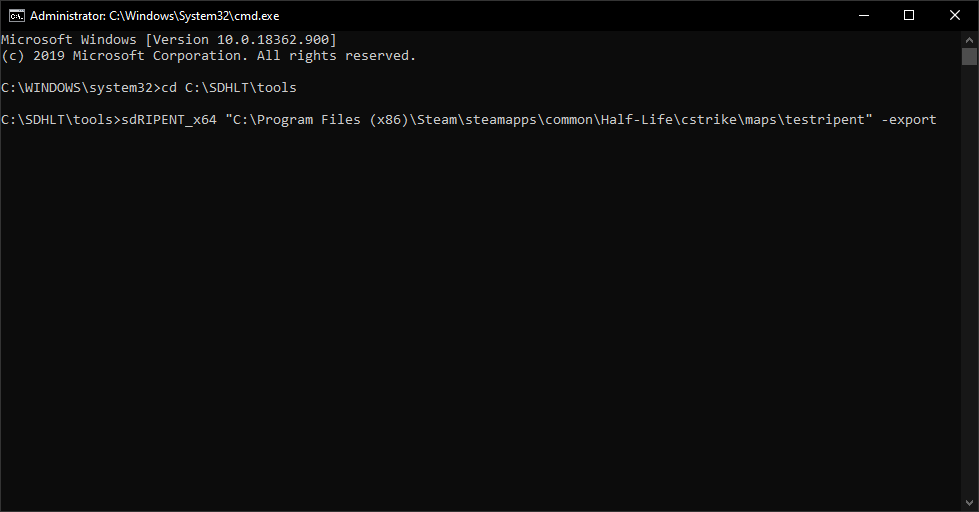
Second method: Ripent
Instead of CSG, I will be using Ripent, a tool used for exporting and importing entity data. You can move and rotate entities, delete entities and even create new entities that use existing brush models. I will be using Ripent to edit the light entity before recompiling with RAD.
Use the command line to run Ripent on your map with the -export parameter. This will create an ENT file in the directory your map is in.
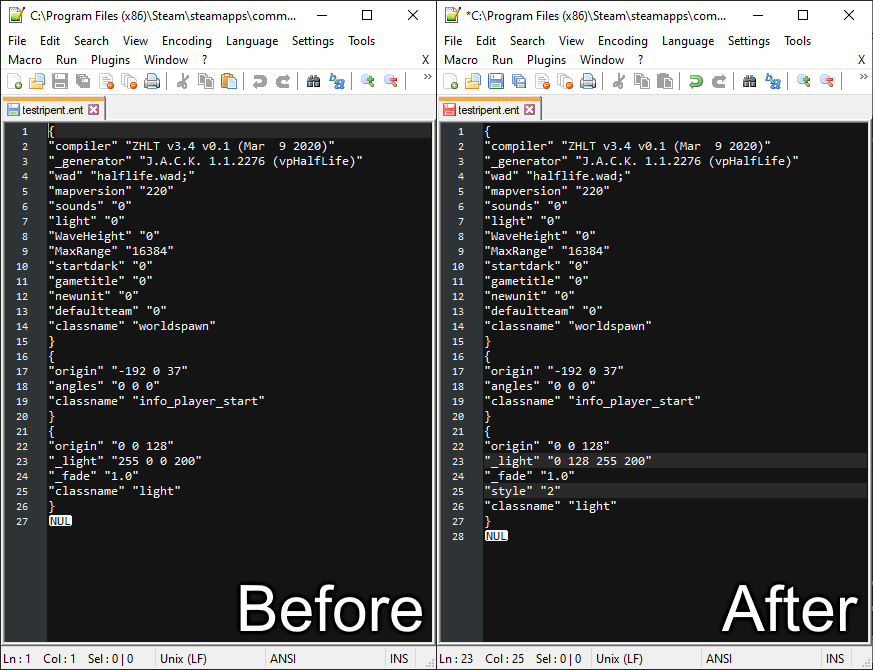
Modify the entity file as you see fit.
Import the new entity file with the -import parameter. If you have baked textures ( zhlt_embedlightmap), it may be a good idea to use -deleteembeddedlightmaps too.
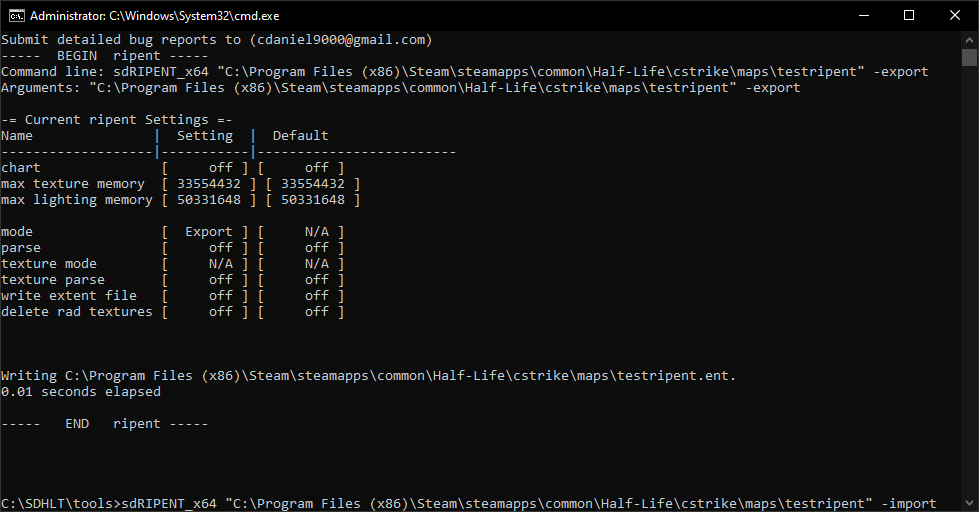
Compile your map with RAD.
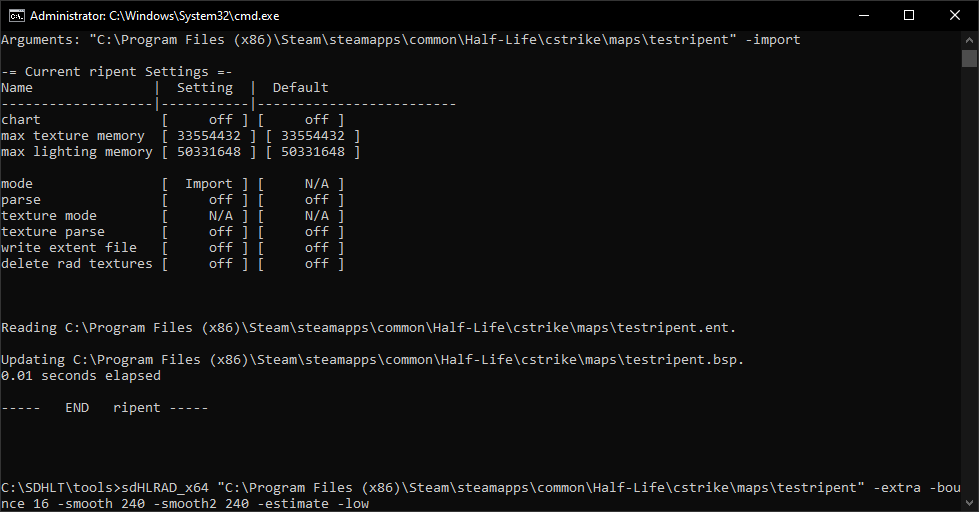 If you reload your map in-game, you should have the new lighting
Third Method: BSPGuy
BSPGuy is a powerful Viewport BSP entity editor and more. You can do all of the above by loading in a BSP into BSPGuy, using AWSD to navigate through the map and find light entities and edit their properties and/or add new light entities.
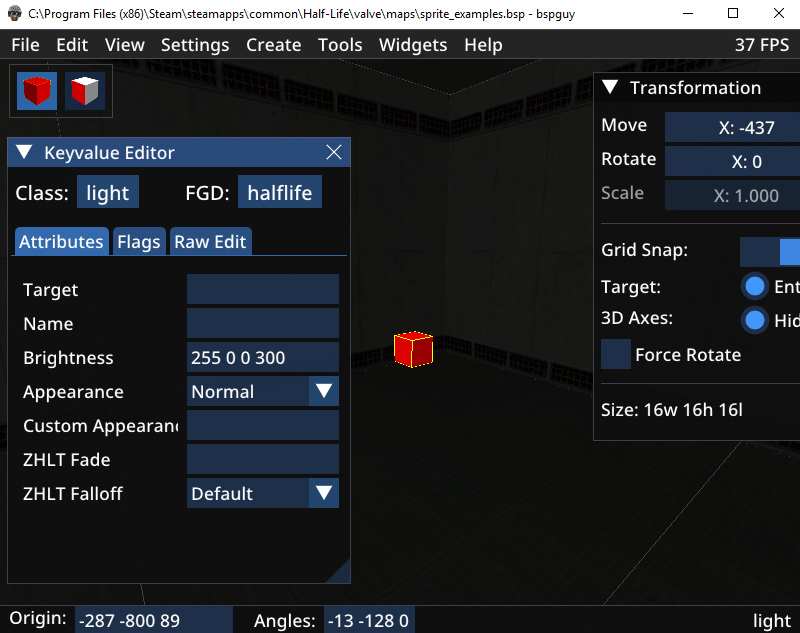
When done doing your edits, go to Save then open the command line for your RAD tools and run the BSP as before.
Troubleshooting CMDline
If you get the compile error that generates an "err" file in the maps folder, open it with notepad to see instructions such as generating an ext file. If the map is giving an error on missing a "_wa" file then use -waddir command.
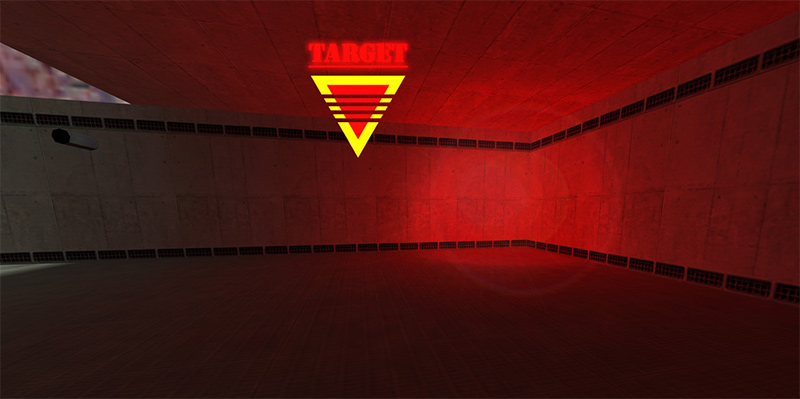
LightMap Painting
So a lesser known experimental feature of NEW BSPGuy is the lightmap editor that allows direct editing of lightmap faces in 2 ways:
One where you pixel-paint per face, and the other is the ability to export either a single lightmap face as its own image or a selection of several as a singular image export to be re-imported.
Warning: this whole process is ment to be a final step and if you re-compile the map all this will be lost.
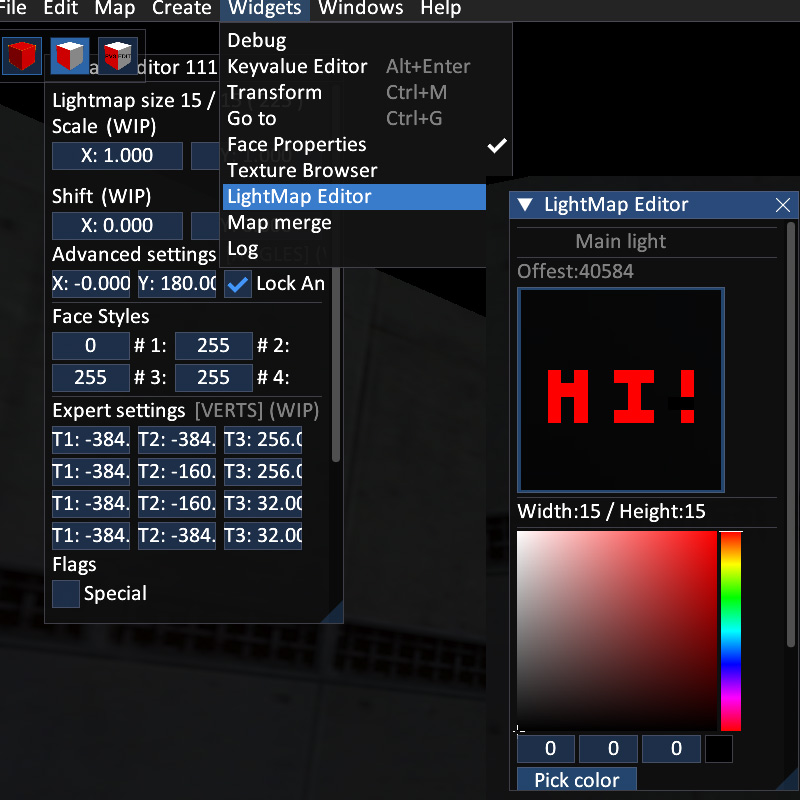
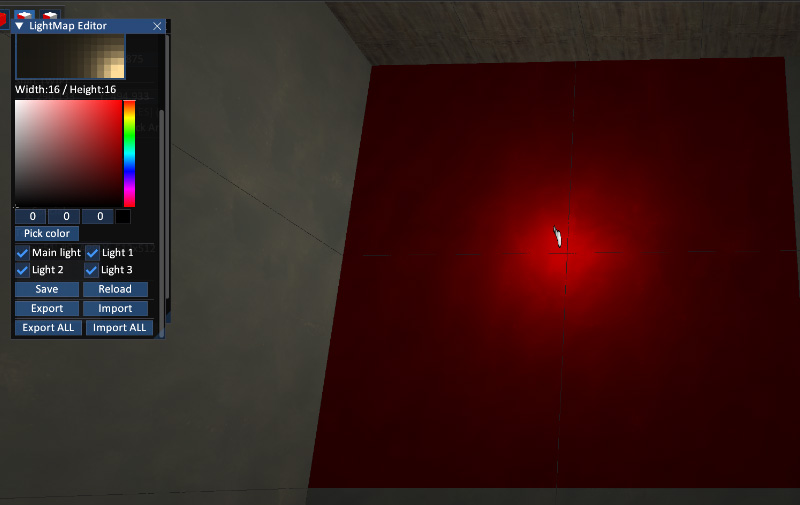
Method1: Per-pixel paint
Make a face selection then go "Widgets->Lightmap Editor". Then using a color selection pixel paint on the faces, then scroll down to "Save" on the lightmap panel to commit the changes. But then you must go file -> Save to actually save the BSP changes. Load up the map and see your result. NOTE: Some faces might be flipped so you might have to paint backwards.
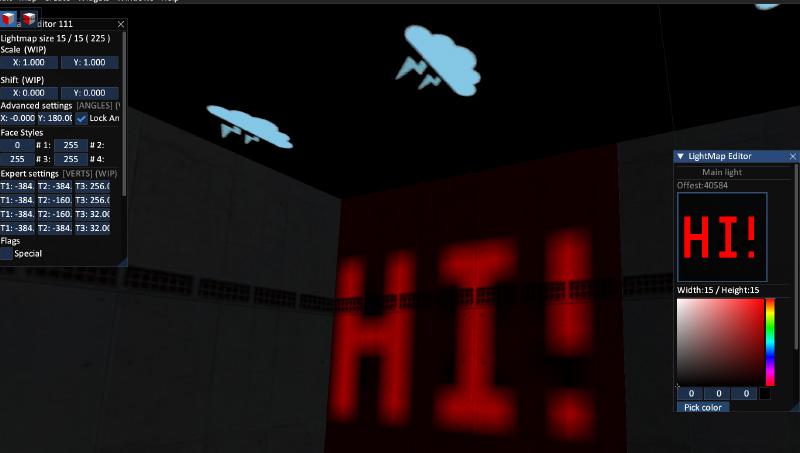
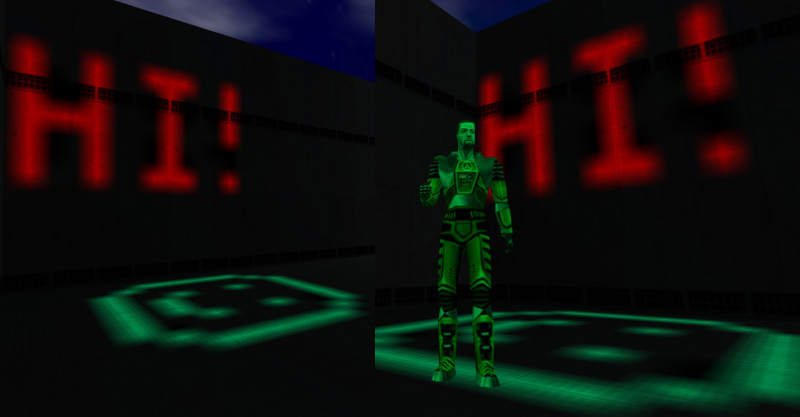
More examples of lightmap painting and in game:
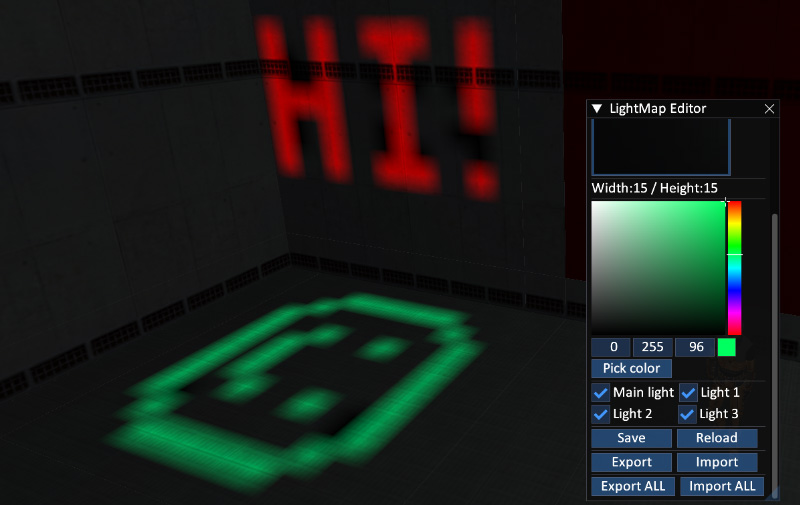
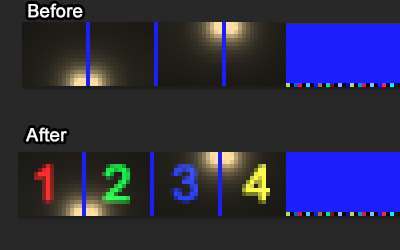
Method2: Raw image export
So now we will try image export. You can do a single image but in this case im doing a multiple face selection of 4. When all 4 are selected, press "EXPORT ALL" and it will export all selected faces as an image in the folder known as "bspguy_work".
Open this in your favorite image editor and do your edits. Sometimes it might make an indexed image but you can resave as 24bit png, it should still work back on import as it converts.
Note: Having only one face selected with the "Export All" will export the entire maps lightmap image as one.
Now go back and click "Import ALL" with the faces still selected and it should load the lightmap in. Press "Save" as before, and Save BSP as before:
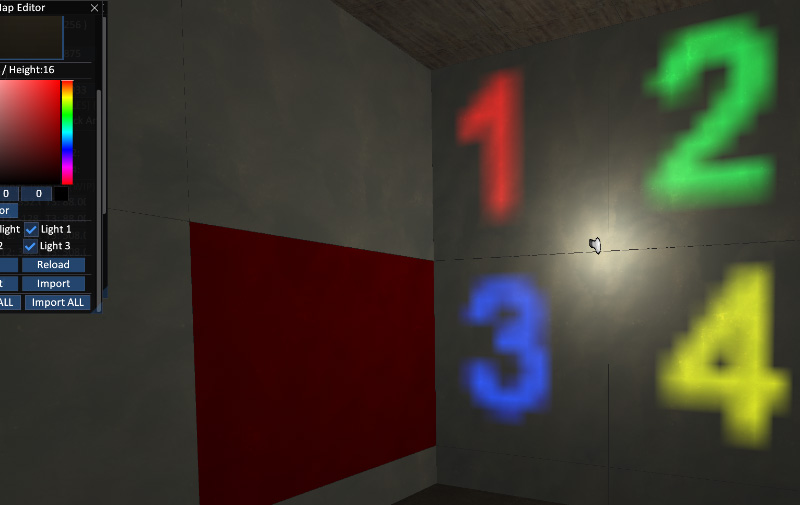
Note one unfortunate thing is its hard to match multiple faces together because the images are filtered heavily and working at low resolution
Toggle Light example:
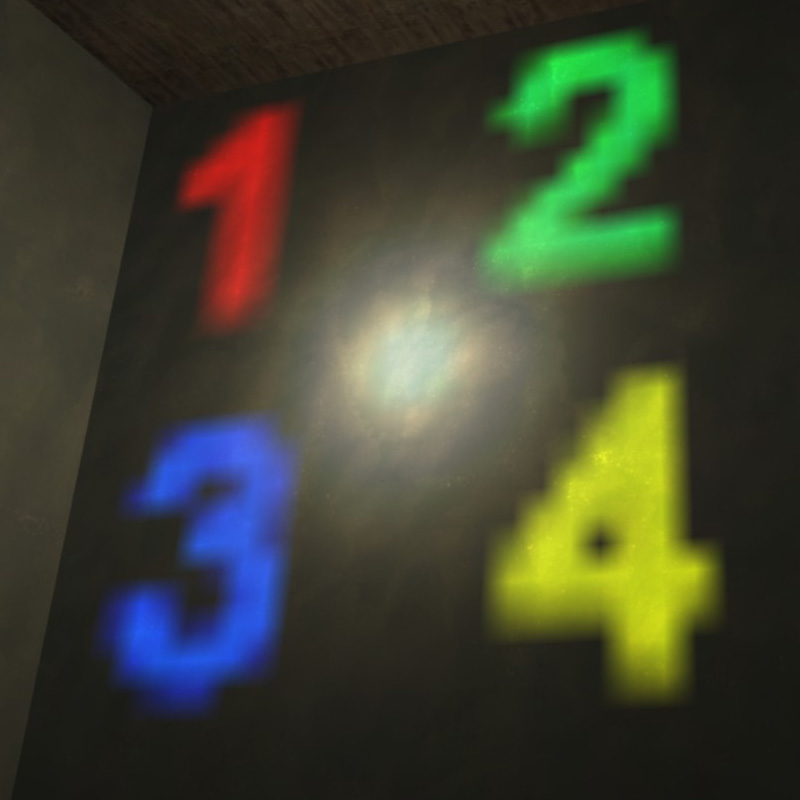
So remember that lightmap editing works on toggled light lightmaps too. In this case I made a very dim toggled light via a button then painted on the wall. First image here is just regular pixel lightmap painting. 2nd image is where i exported the single face then did an overlay blur for a dramatic effect:
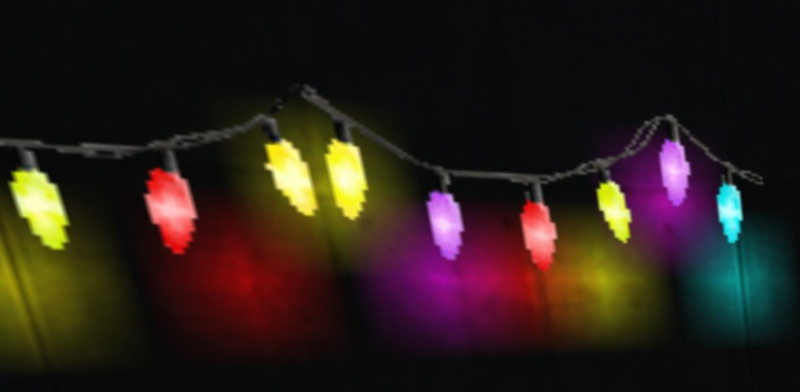

Side note: Now if you are wondering how I got a masked christmaslight texture to toggle between an on and off texture (can't normally due to special texture name with one feature only) I just used 2 func_brush_toggle with the same name as the lights with one initially invisible so when triggered one disappears and the other reappears as a workaround.
Remember this feature might be subject to change as the author may update this at some point