Blender

Re-Proportioning Playermodel in Blender
This guide will show you a method of making the existing animation set conform to a different sized character. This tutorial is written by SV BOY and edited by The303.
Preparing The Model
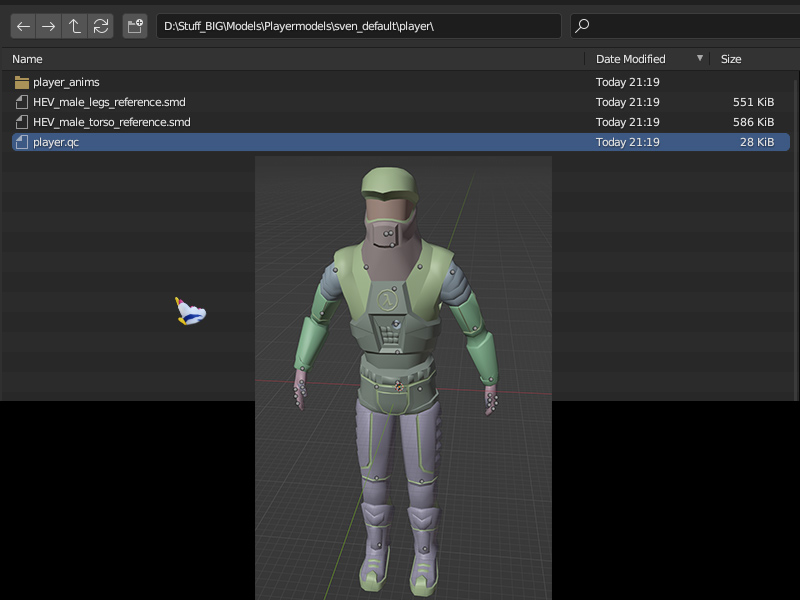
1) Using BlenderSourceTools we will import the default playermodel as a QC file. Using this option loads all sequences into the timeline this affects all the animations to make this work. In this example is a Sven-Coop "Helmet" model.
Import the .qc file of your choice, upon succesful loading, action_wave should be playing by default.
2 )Change the animation timeline to Dope Sheet and switch to Action Editor, this is where you can see your model's animations 1:1
3) Import a model of your choice, a lot of the times you are probably going have to scale it up
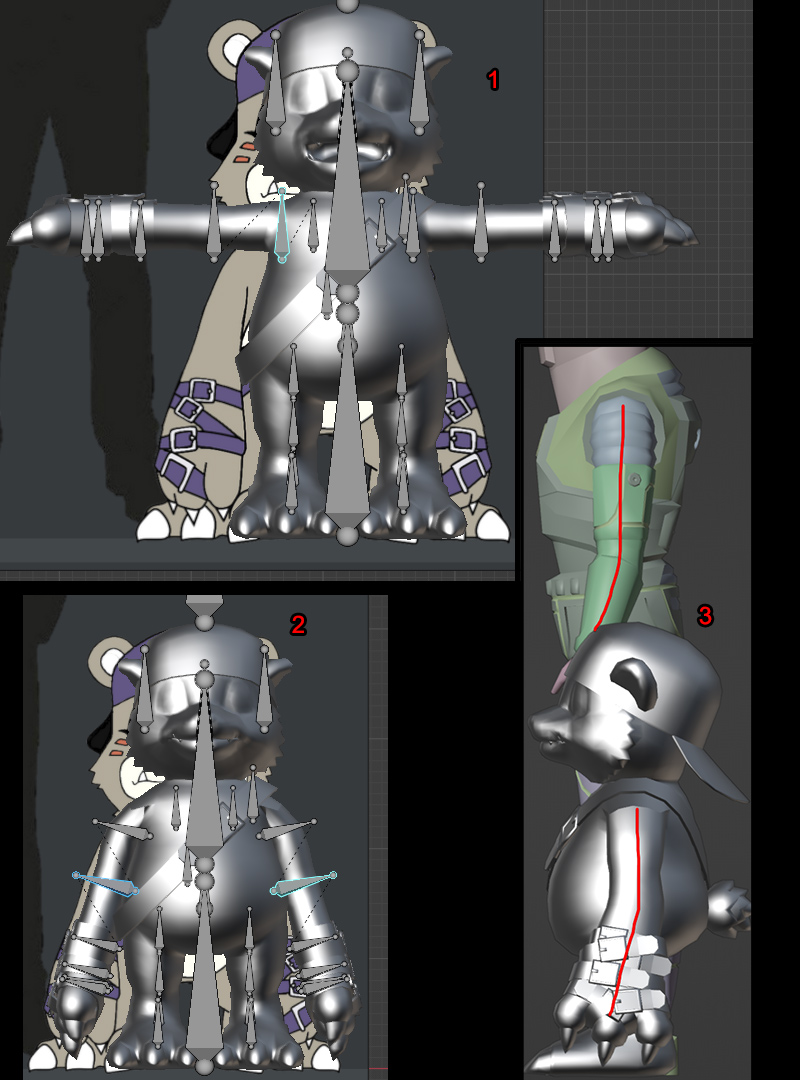
4) Go into pose mode, hit Alt + Z to see the bones more clearly, and adjust the pose so its more similar to the model. For playermodels and\or if your character has complicated hand mesh\big hands, dont bother posing them as even on default models they are difficult to work with. Make sure to tilt the hand pose slightly as shown on the red alignment lines.
5)Theres now two methods we could do to progress but on this guide ill make the armature natually small, the other method involves scaling up your model so that the sholuders match and then change the scale post-process, both methods still require fixing crouch origins.
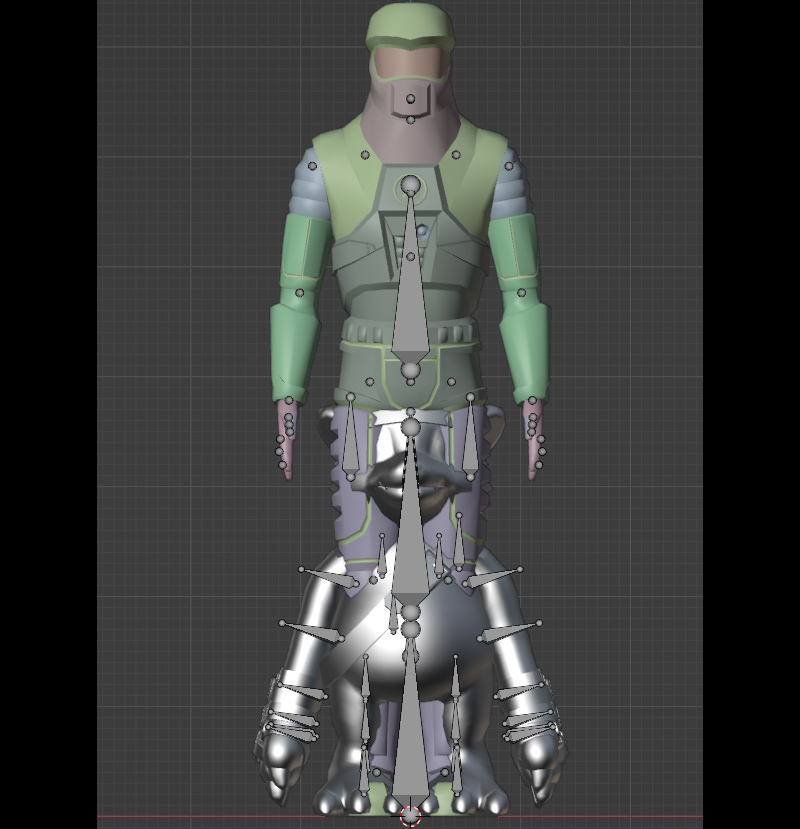
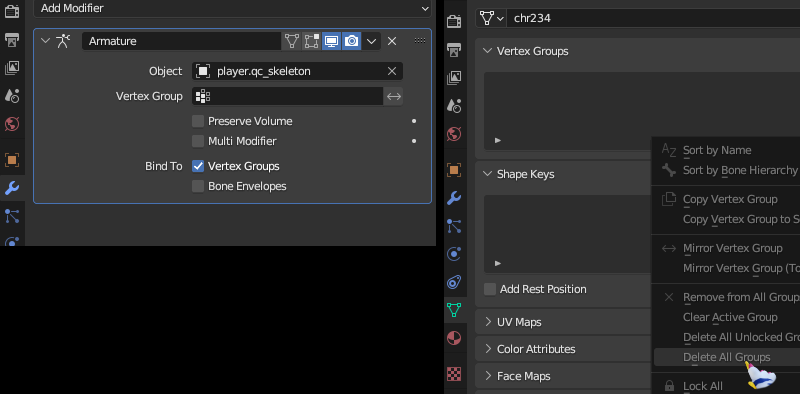
6) Once youre confident with your pose, set the model's armature to the playermodel and delete its old vertex groups
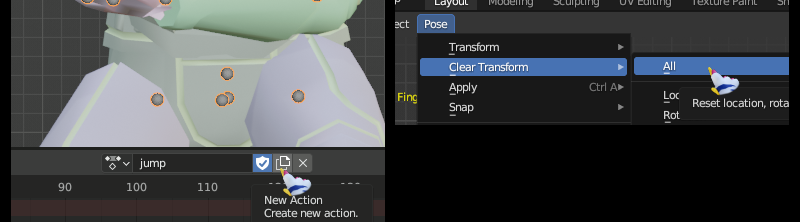
7) Make a new animation, go into pose mode, A to select all bones, remove all the other keyframes except one, and clear all transforms, this should make your model go into rest position, make sure to insert keyframe so it doesn't reset
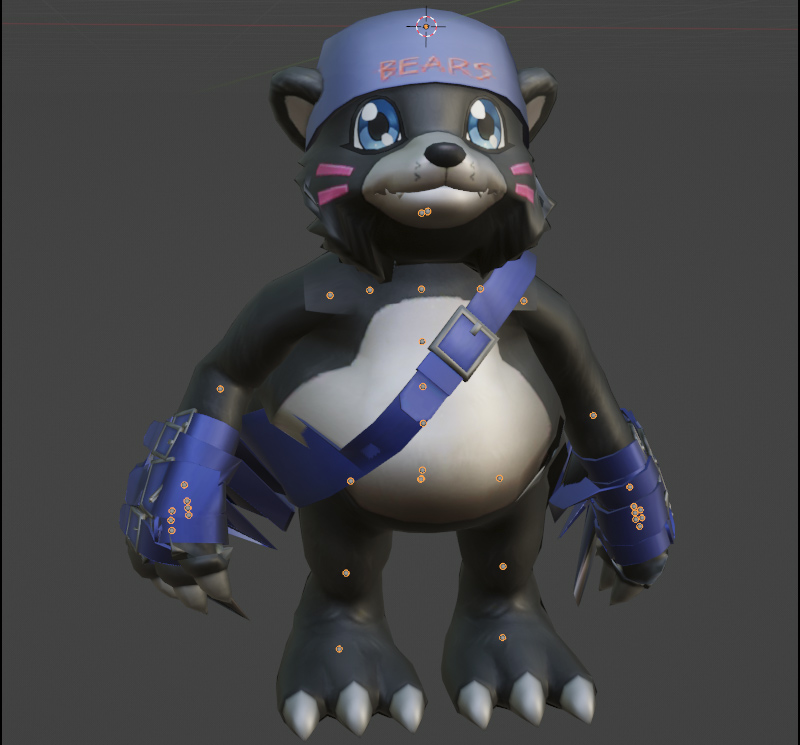
8) Pose the model so that it matches your model's bones, dont worry about your helmet looking really funny, its part of the process. ™️

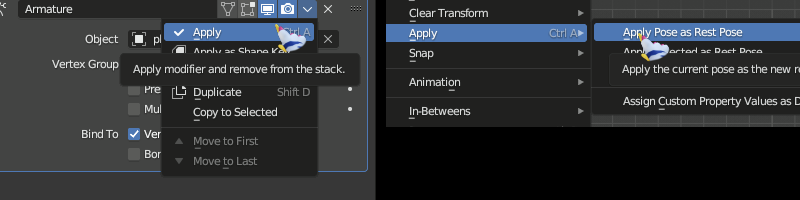
9 )Apply the playermodel's armature modifiers AND apply the said pose as rest pose
10) Rig! Your model should now be following the modified armature's bones. For this tutorial ive used the automated Transfer Weights but if you rig it properly it should look flawless.
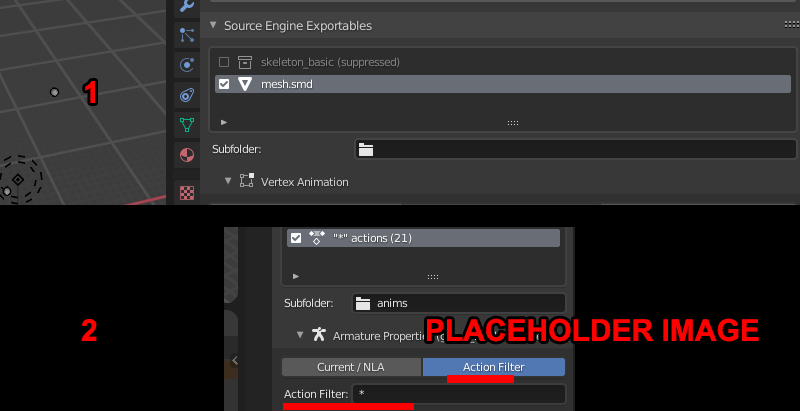
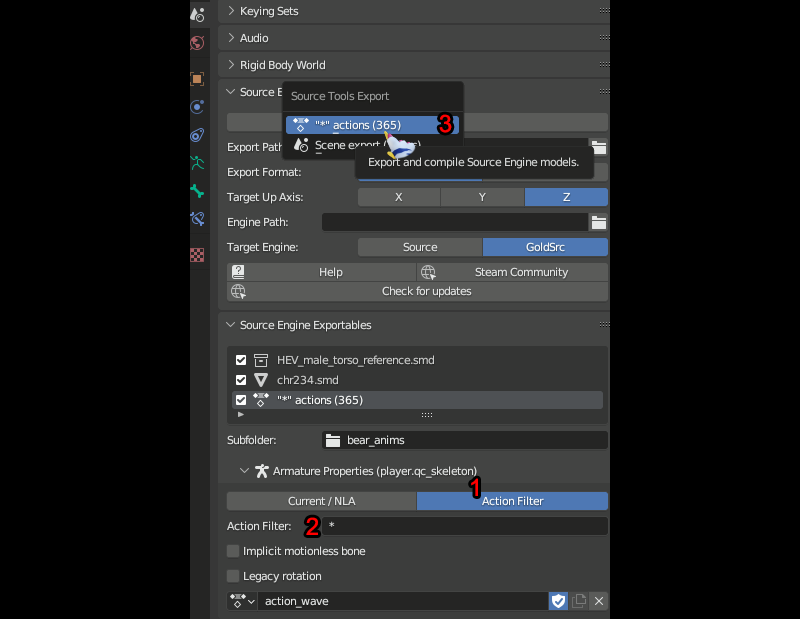
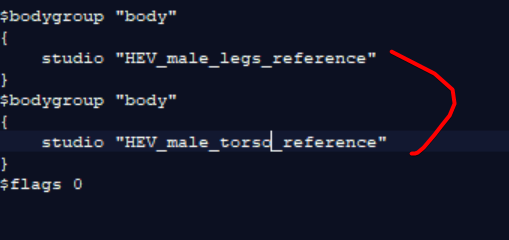
11) Once youre satisfied with the rig and the armature (which can easily be modified now) You can export all the animations, for this ive export them as in a folder as bear_anims and then replaced all the existing player_anims in the qc file to the bear one instead. This might take a while since you are exporting about 300 animations
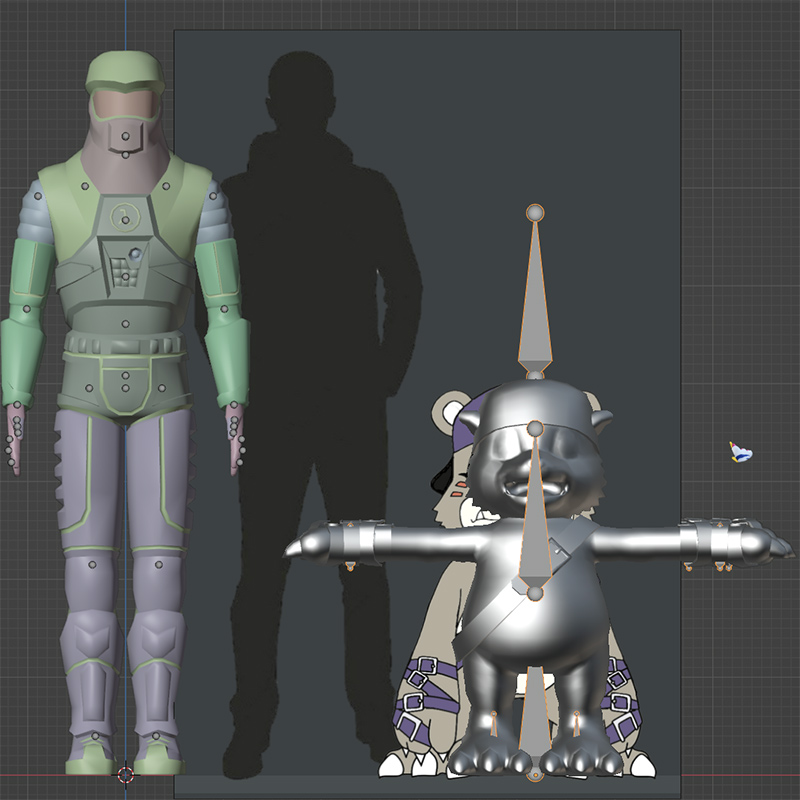
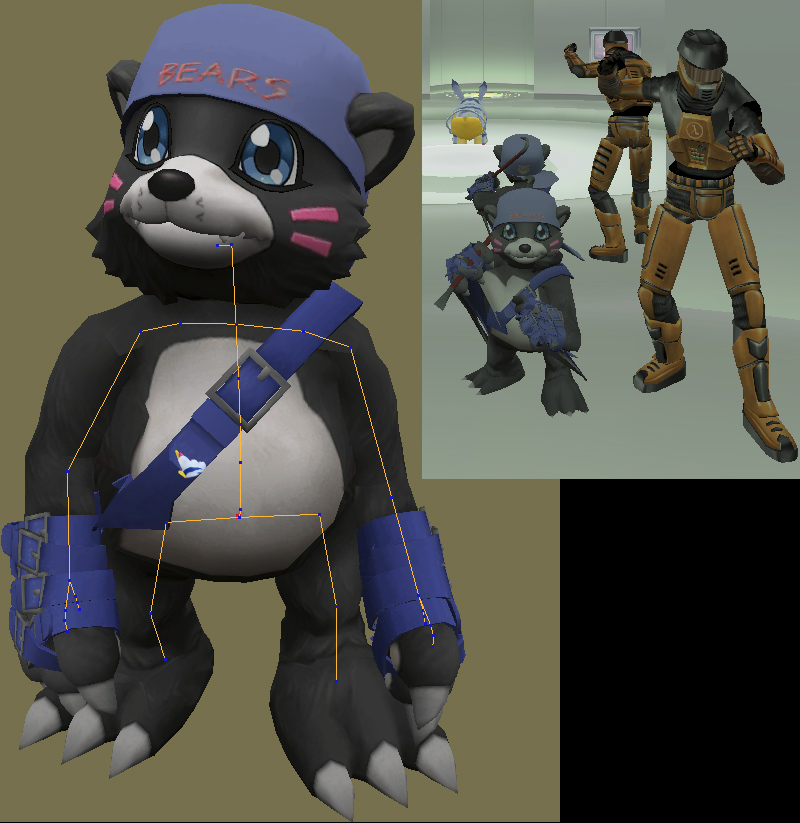
12) Result (map used is _player_sanctuary)
Troubleshooting/addtional fixes
My model's head looks weird\looks odd on animation

You are most likely experiencing headbug. For whatever reason, if the head doesnt load first in the qc file, your model's head might move awkwardly. Usually making sure your head loads first in the qc file fixes this
My model is in the wrong position crouching or jumping, ect
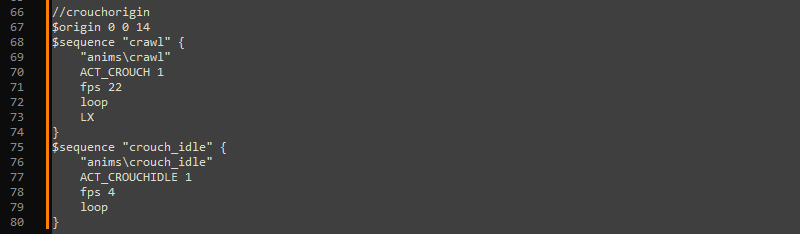
This can be fixed with strategic $origin QC commands or sub command of $sequence "origin" (see QC commands for more info.)
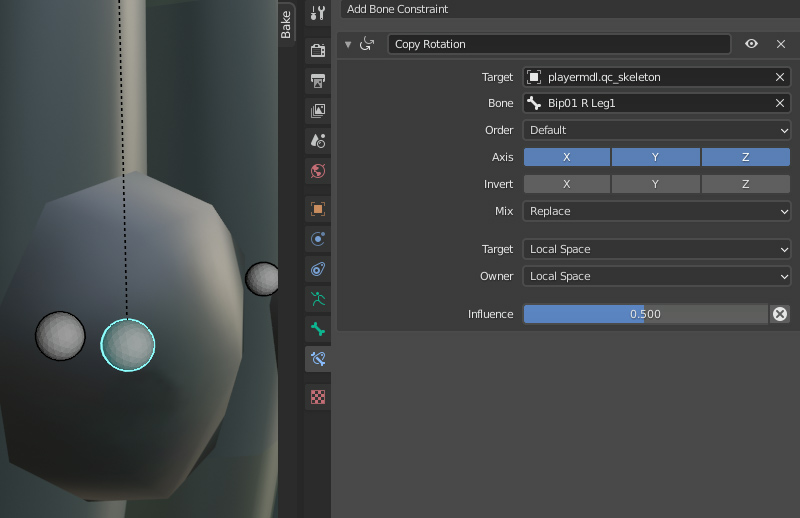
Two handed weapons seem to have desynced hand postions
This will need fixing for those specific sequences. Usual procedure is make a backup of your blendfile, then assign some bone constraints or manual Posing editing to your model. Then export just the batch of said sequences using a wildcard. For example *_shotgun.
an optional thing you can take advantage of since you now have all animations imported is you can make some additional bones with bone controllers and rigging to fake out softer animation skinning. Basically, add/copy a bone in the skeleton, rename it, skin it to a loop, then put a copy rotation controller with the next bone in the heiarchy and use a 50~30 or whatever percentage.