Sven Co-op Fullbright Model Textures Tutorial

Sven Co-op models supports a texture QC flag called "fullbright" which basically means the texture will be drawn at full brightness at all times. This is used for things like screens, lights, and glows. This quick tutorial will show some ways you can use this. XASH3D also supports fullbright flag.
The prerequisite of this guide is the Modelling Mega thread as it will be needed to know about how to import/export SMDs
GoldSrc Modelling Mega Tutorial
METHOD
There are two main ways to use the "fullbright" flag, the first being a QC line in the same format as you would with "masked" or "additive".
This method must use the Sven Co-Op Studiomdl.exe found here and in the sven coop SDK folder located here to compile:
C:\Program Files (x86)\Steam\steamapps\common\Sven Co-op SDK\modelling
The way you would write the QC line out will be:
$texrendermode mytexture.bmp fullbright
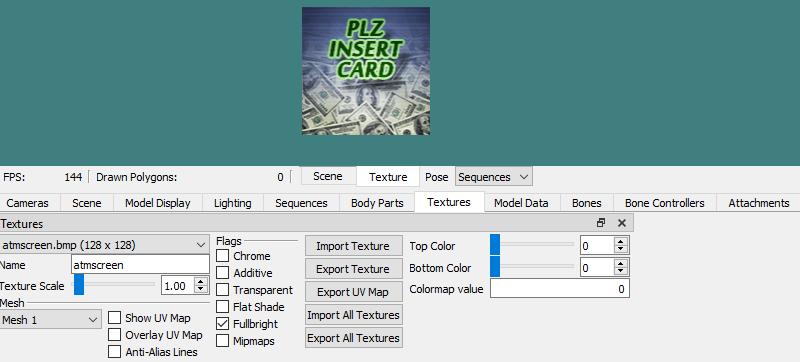
The second method sets this flag in the model viewers known as Half-Life Asset Manager or only if using XASH: P2MV (Paranoia 2 Model Viewer).
This method is as simple as selecting the texture from the texture tab rollout and checking the "fullbright" box and then saving out the model. This is especially useful if you want to set fullbright on existing models without decompile or if you want to use other compilers other than the sven version say for example an older version or XASH studiomdl.
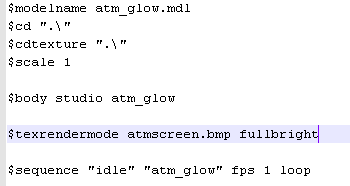
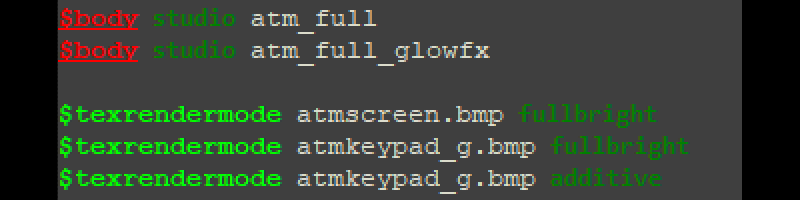
1) First example we will set a texture to fullbright here on this ATM by setting the screen texture to fullbright in the QC code method. As you can see here I have the fullbright line in the QC and am ready to compile
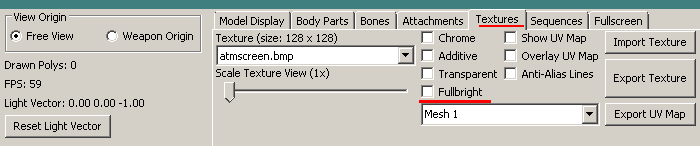
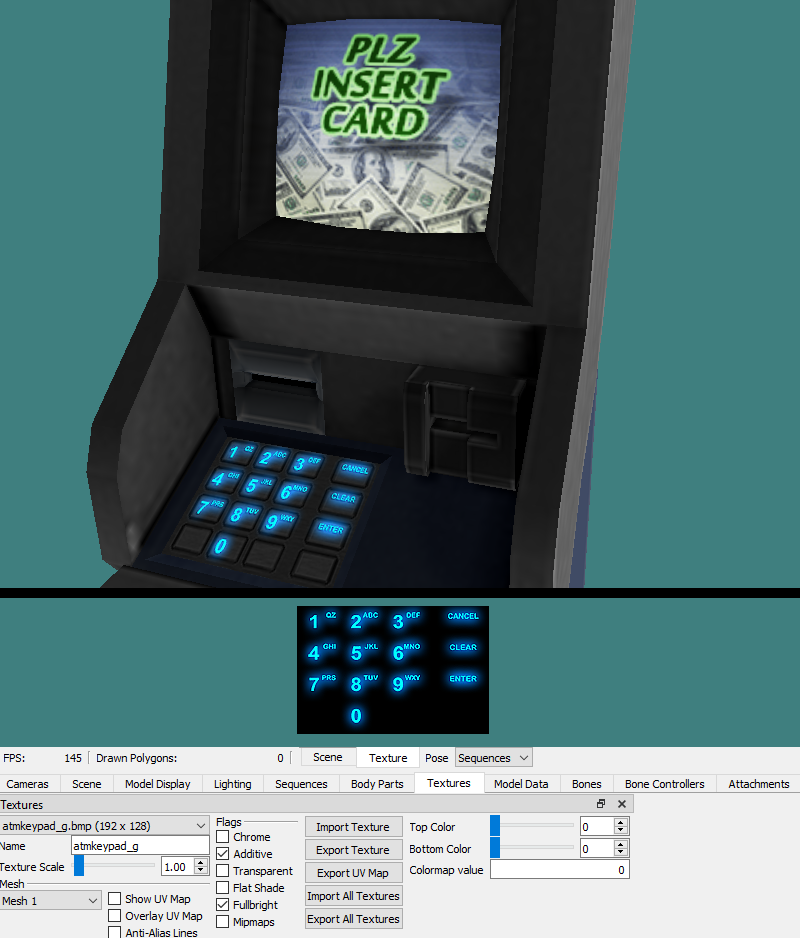
2) Here is the compiled model viewed in HLAM. Using ctrl and clicking and dragging the mouse I have changed the light direction and then used ctrl-click to move the light from top to bottom so I can preview how it looks in shade. You can also do this manually with the light direction wheels in the lighting tab. On the texture tab rollout here is the checked fullbright flag so you can confirm the QC has enabled this function.

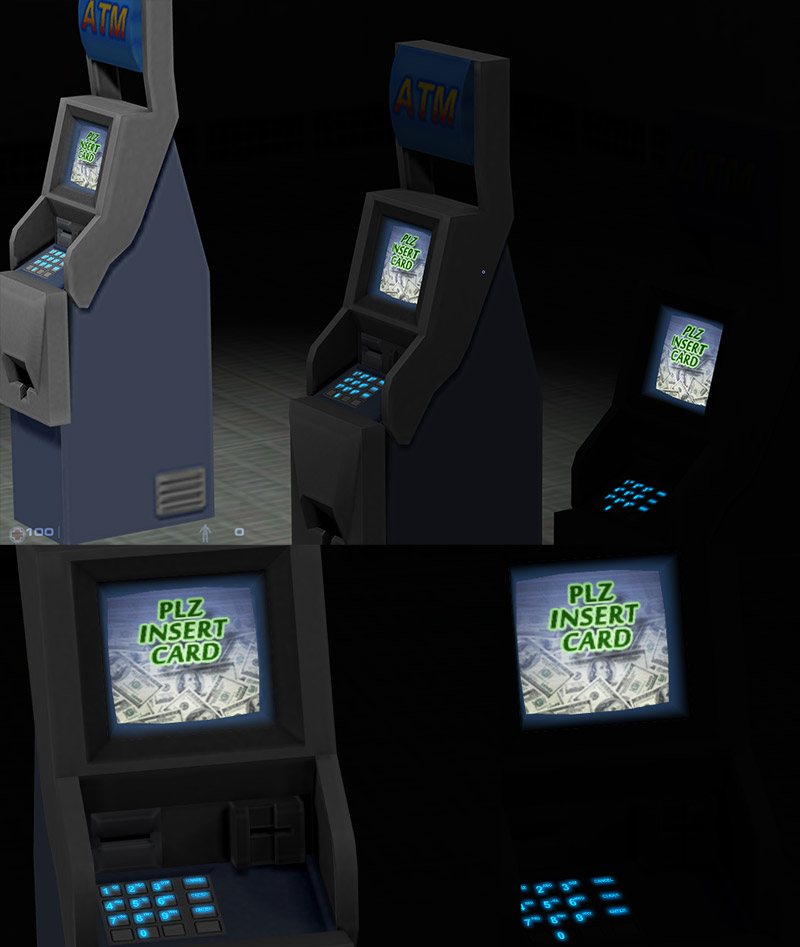
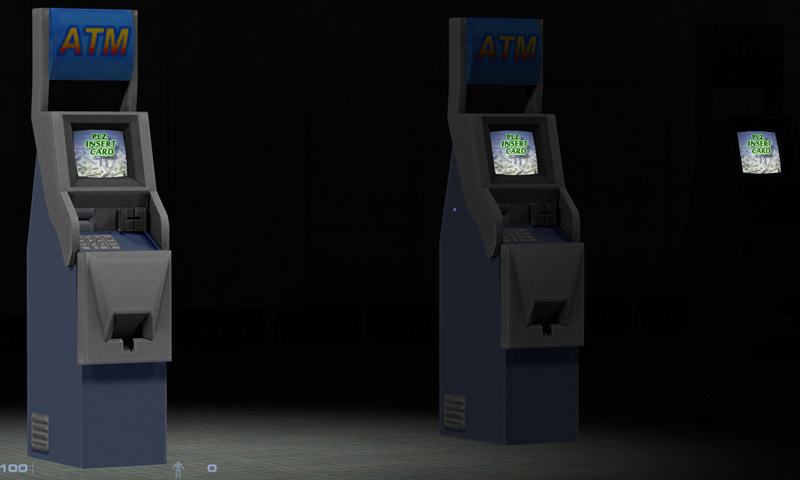
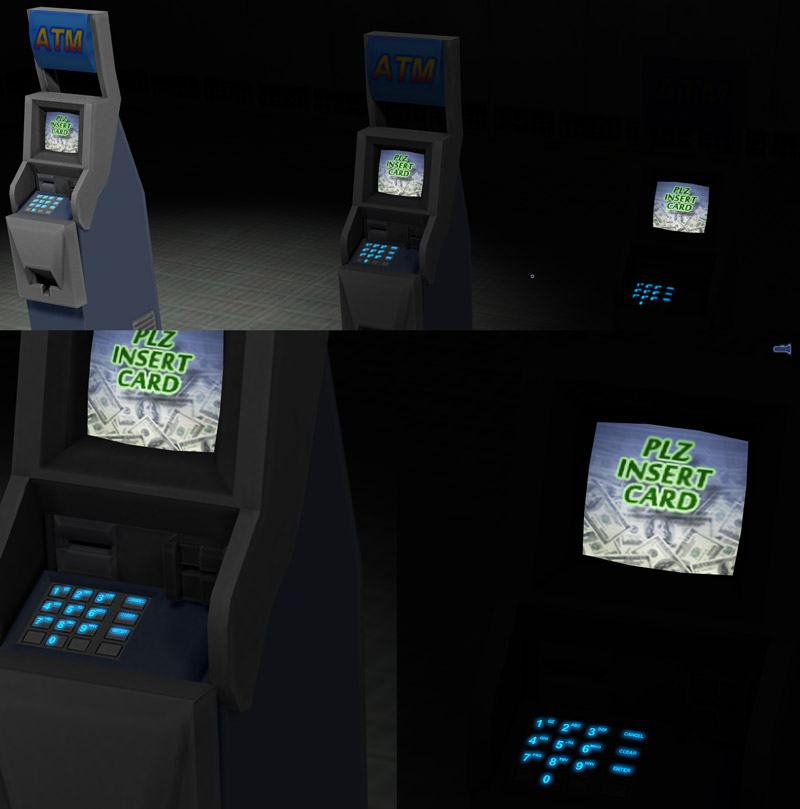
3) This is what the model looks like in game under various lighting conditions.
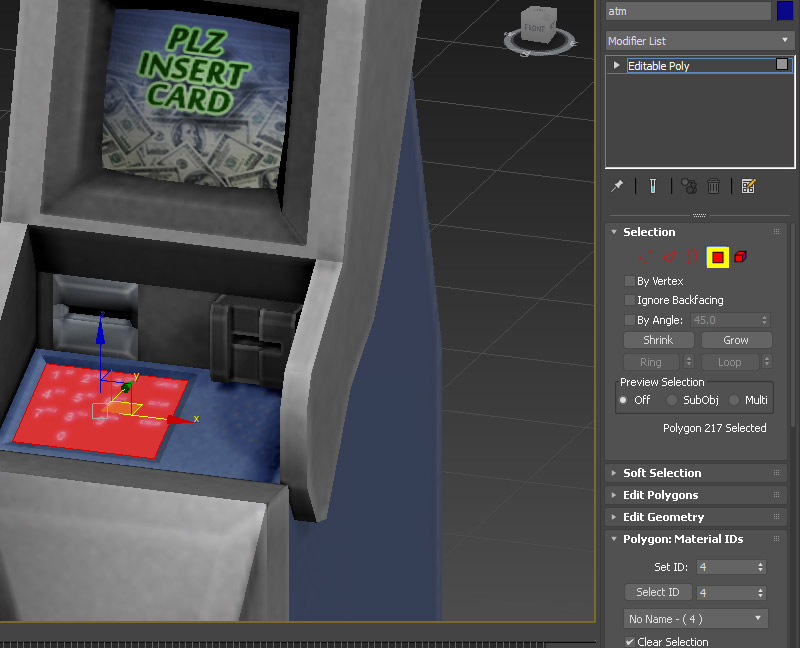
4) Now I want to introduce glowing effect method by combining fullbright with Additive flag. In this example I have made a glowing texture version of the ATM keypad. The keypad polygons are simply duplicated, made as their own separate object and set to the new texture. In this method to ensure separation and proper sorting this separate duplicate mesh will be exported as its own separate SMD.
Note for blender BST users, by default BST will export by collection so to make sure a duplicate object is exported separatley move it to another collection and name accordingly or use "Supress" on the "Source Engine Exportables" list
As seen here the 2nd mesh is on its own $body (or $bodygroup) line that is last in the order. The additional $texrendermodes have been set for the new glow texture.
I know you are thinking "what about Z-fighting sorting errors due to the two planes occupying the same space? Shouldn't you move it out or use push from normal?".
When you separate the meshes into their own $body/$bodygroup and have it in the last of the order of meshes it will cause it to be rendered last, therefore eliminating the potential Z-fighting. This can be verified in HLAM like so:
5)Now see the model in game.
6) Another example id like to share is having a glow gradient texture to add to the mesh surrounding the screen. After detaching this clone, add it to the existing FX separate object. I re-UV'd all the planes to a small (16X64) dim gradient texture in facing outward directions. See how it looks here?

7) Now see how it looks in game